Your own Ira, in 15 minutes
By the end of this page you can ask your own Ira, by typing or by voice:
vo PDF kahan hai jo kal download kiya?
padh kar sunao
screen pe kya hai?
Chrome mein kya chal raha hai?
and Ira answers from your own Mac: it finds the file, reads it to you, reads the window in front of you, and lists your browser tabs.
Ira works for you alone. It reads only when you ask, only with the skills you switch on, and never your passwords. See Privacy for exactly what is kept.
You need a Mac with macOS 14 (Sonoma) or newer, and about 15 minutes. No programming.
1. Start Ira (3 minutes)
Ira runs on your own computer or server. To try it on your Mac, open Terminal (in Applications, Utilities) and paste these lines one at a time:
python3 -m venv ~/ira-app && source ~/ira-app/bin/activate
pip install "ira-assistant @ git+https://github.com/helloupendra/ira.git"
ira init ~/ira/me --business "my own work"
cd ~/ira/me && ira serve
The last command prints a link like
http://127.0.0.1:8765/admin/setup#code=7F3A-91C2-0B4E. Leave Terminal open.
Someone else runs the server?
If your family or team already has an IRA server, skip this step: ask its owner for an invitation link, open it, choose a password, and go to step 3.
2. Make your account (2 minutes)
Open the link Ira printed. Choose your email and a password (10 characters or more), give the assistant a name (Ira is fine), and set your action PIN: 4 to 12 digits that only you know. Ira asks for this PIN whenever you allow something new, such as a device.
Without a model key, Ira runs in demo mode: it understands simple phrases like the ones on this page, but not free conversation. To give it a real language model, see Getting started.
3. Add your Mac (5 minutes)
Open Ira at http://127.0.0.1:8765, sign in, open the menu (the three
lines, top left), and choose Your devices.
- Under Add a device, keep Mac and give it a name. Tick what it may do: Files, Screen and Browser are ticked for you; tick more if you like (Contacts, Calendar, Mail and the others), or switch them on later. Type your PIN and press Make a pairing code.
- Ira shows a code like
GUQC-6JSB, a QR code, and the steps. The code works once, for 10 minutes. Press Copy the pairing link. - Download Ira for Mac (the link in the first step of the card), open it, and drag Ira to Applications.
- Open Ira from Applications. The first time only, macOS will not open it straight away, because it is not yet signed by a registered developer: on macOS 14, right-click Ira and choose Open; on macOS 15 and later, open System Settings → Privacy & Security and choose Open Anyway.
- Ira opens on Pair this Mac with your Ira and finds the link you copied. Press Pair.
The card on Your devices says is paired when it worked. Ira then walks you through what it may use on this Mac, one permission at a time, and asks a test question. See Ira for Mac for each permission in plain words.
4. Ask (2 minutes)
Press Option-Space anywhere: Ira's window opens. Type, or press the mic and talk:
vo PDF kahan hai jo kal download kiya?, thenpadh kar sunaoscreen pe kya hai?Chrome mein kya chal raha hai?, thenus upload tab mein kitna hua?
Ira shows what it is doing ("Finding files…", "Reading the screen…") while it works, and answers by voice when you spoke to it.
Your assistant, your way
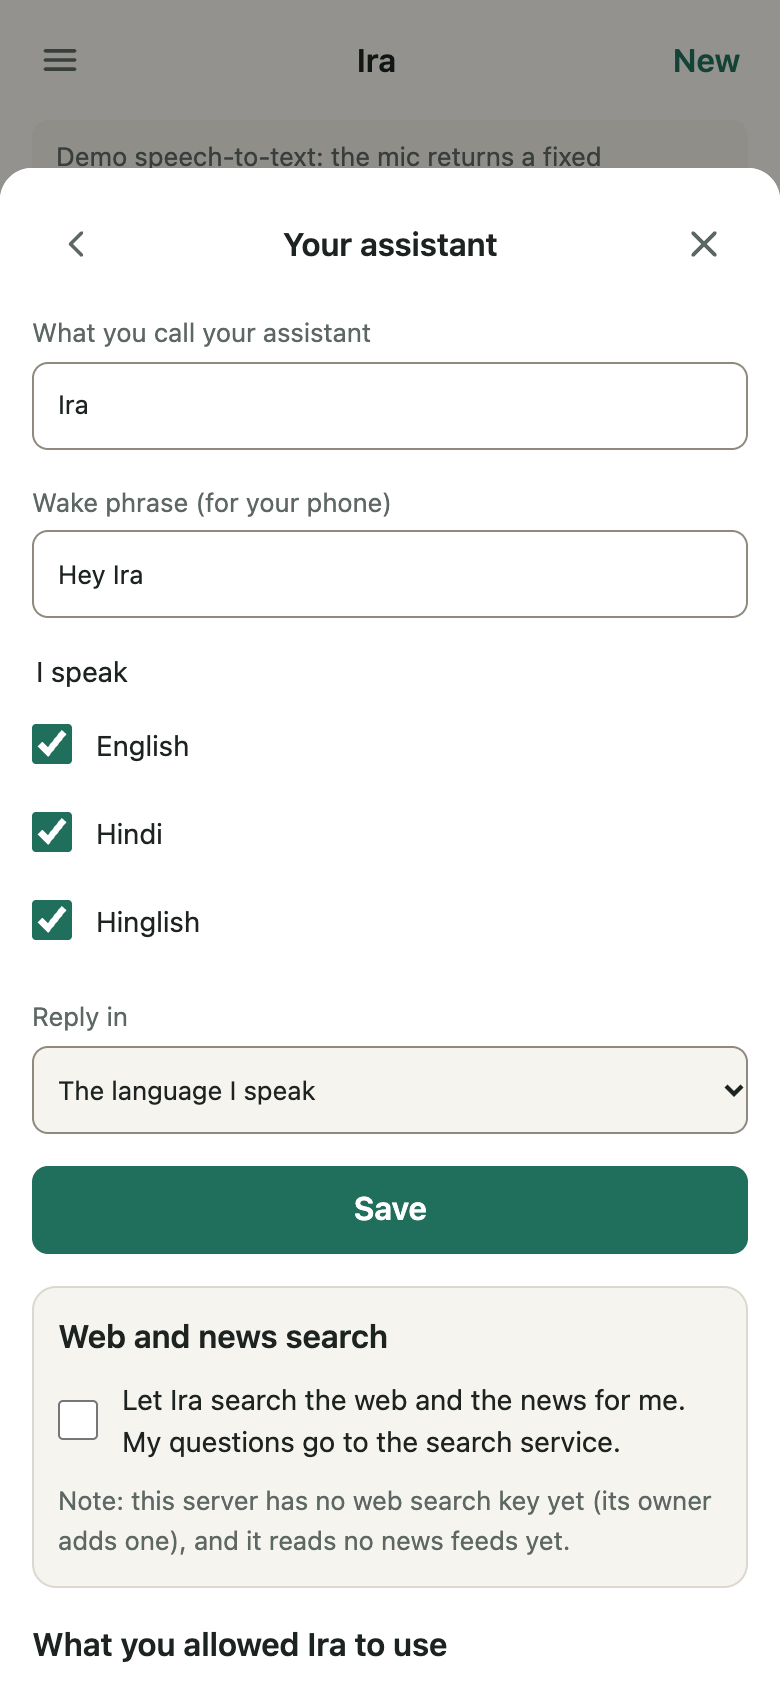
Your assistant in the menu: the name you call it, the wake phrase your phone will listen for ("Hey Ira" by default), the languages you speak (English, Hindi, Hinglish), the language it replies in, and web and news search (off until you switch it on with your PIN). It also lists everything you allowed Ira to use, each with Turn off.
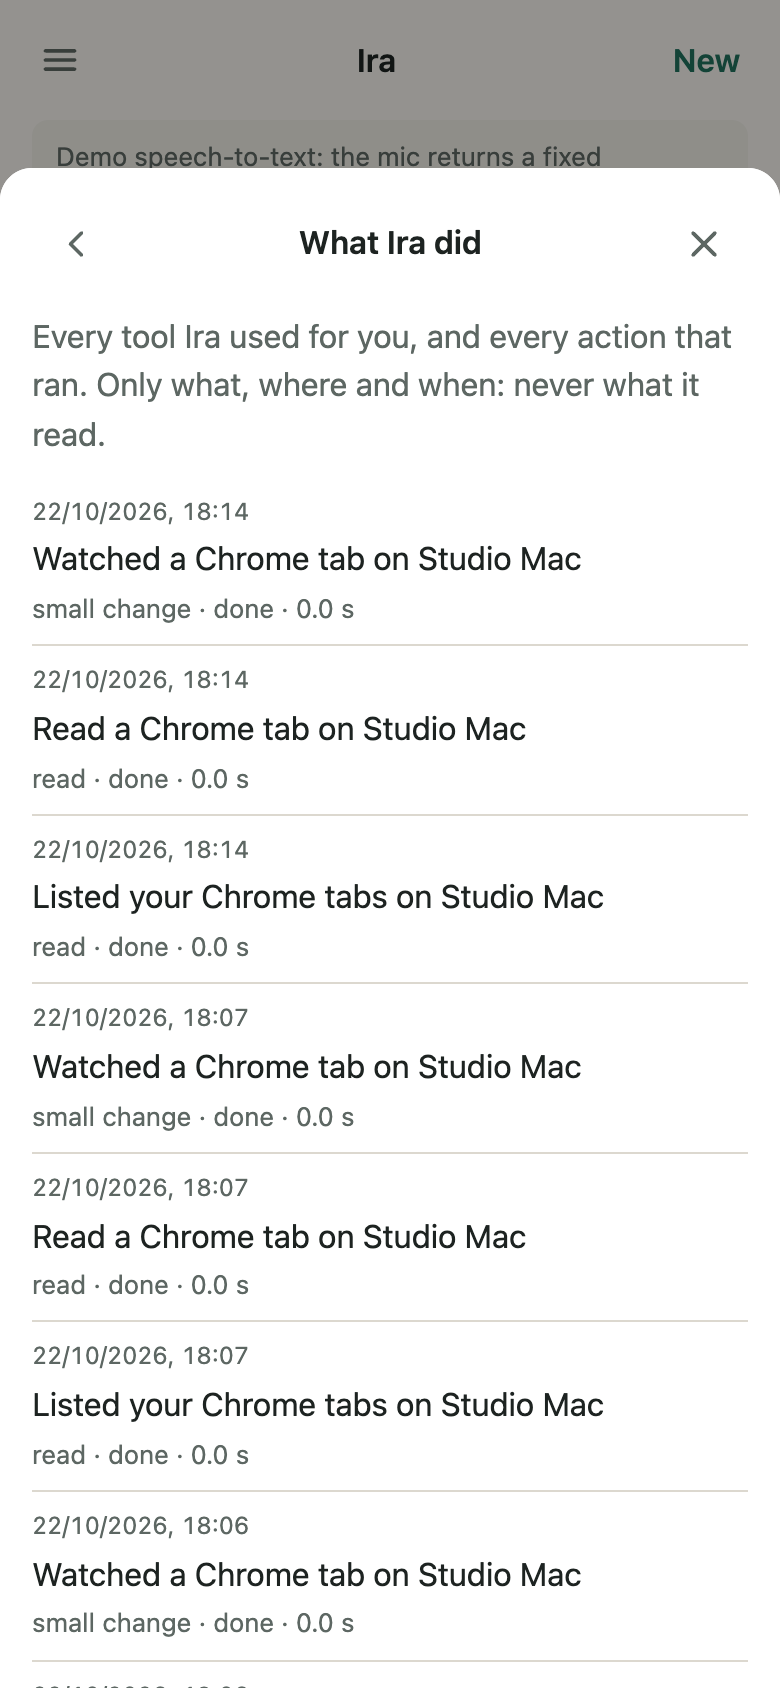
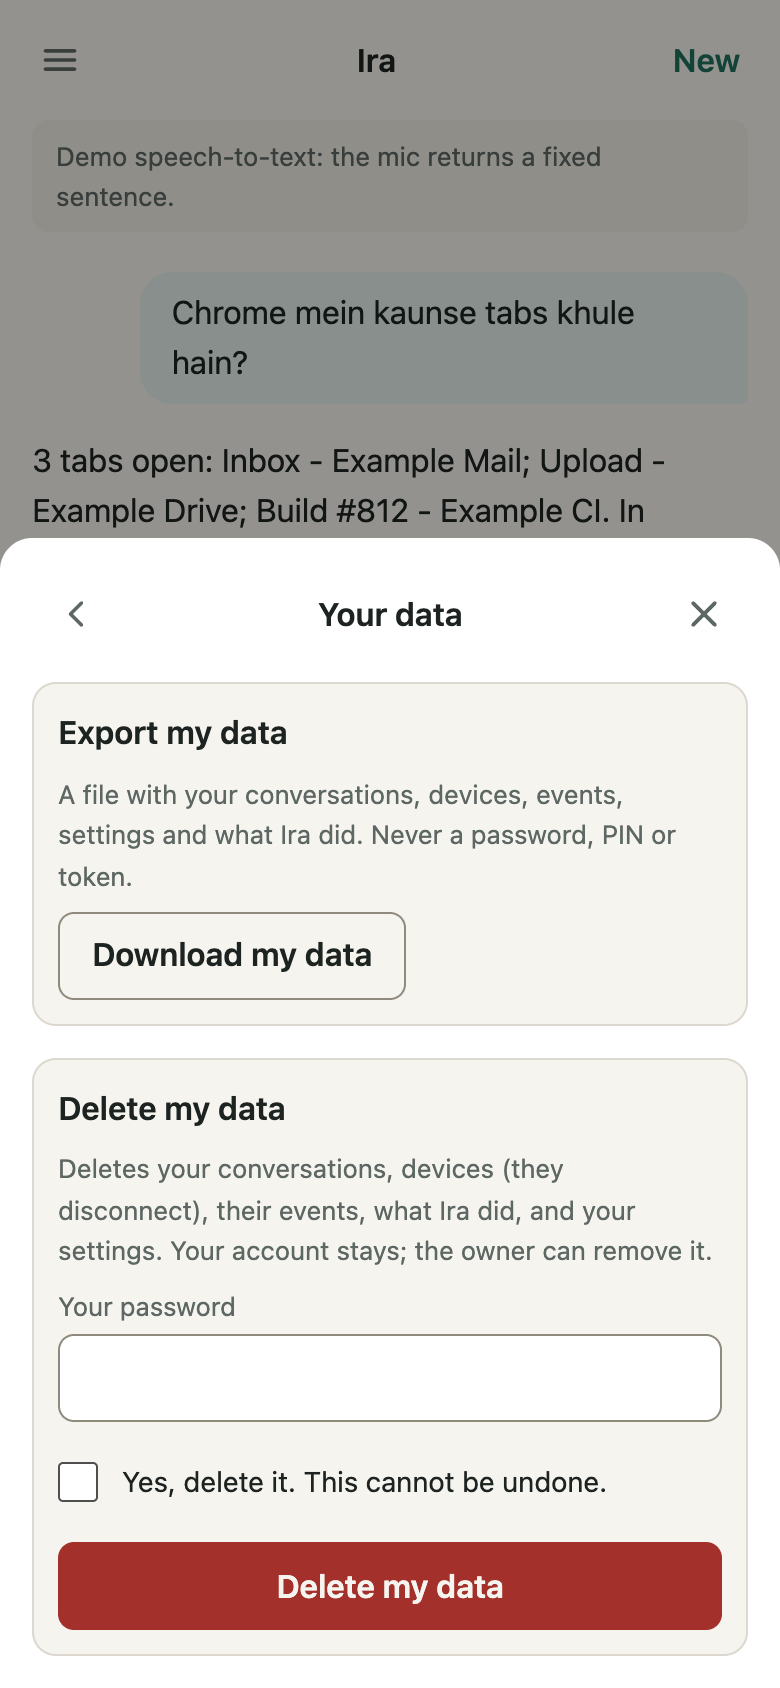
What Ira did lists every tool it used for you and when: never what it read. Your data lets you download everything Ira keeps about you, or delete it.
Drop: send anything to your other devices
Drop is your own inbox, shared by your devices: text, a link or a file sent
from one is on the others at once, kept 30 days. In the Ira app, tap the
tray at the top: type or paste, choose files, or drag files anywhere onto
the app. Text and links come with Copy first; files with Save. On
Android, install the app from Chrome (Add to Home screen), then Share →
Ira from any app and tap Send to Drop. You can also ask Ira ("send this
link to my phone"), send /drop and the text, or a file with /drop as its
caption, to your Telegram chat, or use a terminal:
ira drop login --url https://ira.example.com   # once: email, password, PIN
ira drop send plan.pdf --caption "v2"
ira drop send --text "call the CA at 4"
pbpaste | ira drop send -
ira drop list
ira drop get 42                  # saves a file here, prints text
ira drop rm 42
login keeps a token in ~/.config/ira/client.json, readable by you alone;
it may ask and use your Drop, nothing else. Scripts can set IRA_URL and
IRA_TOKEN instead. Files are limited to 95 MB. See
Privacy for how they are kept.
Talk to Ira like a phone call
When the server has a streaming speech-to-text and a voice set up, the Ira app shows a phone button next to the text box. Tap it and just talk: Ira answers as soon as you stop, and stops talking the moment you speak. Tap End call when you are done. See Real-time voice.
Let Ira learn your routine (optional)
Off until you switch it on. Ira can notice when you leave the office or start on your Mac, and after two weeks or more asks: "Shall I remember this?" Only a yes makes it stick. See What Ira learns, which also has the steps for an iPhone Shortcut.
If something does not work
| You see | Do this |
|---|---|
| "Not paired: that code is used, expired or mistyped" | Make a new code on Your devices and paste the new link in Ira |
| Option-Space does nothing | Another app took it: choose another shortcut in Ira's Settings |
| Ira says Screen Recording is off, or asks to be restarted | Switch Ira on in System Settings → Privacy & Security → Screen & System Audio Recording, then press Restart Ira |
| Ira says it may not use Chrome, Mail or Notes | System Settings → Privacy & Security → Automation: switch Ira on for that app |
| The device shows "Last seen …" | Open Ira (it starts at login if you chose that); its menu-bar mark says whether it is connected |
To remove Ira from the Mac, choose Remove Ira from this Mac… in its menu: your Ira forgets this Mac at once, and the app deletes its key, settings and logs. Then drag Ira to the Bin. You can also remove the Mac on Your devices at any time: it stops working at once.
More detail: Ira for Mac and Devices.